A Beginner’s Guide to Shopify Admin Dashboard: A Comprehensive Overview

So, finally, you have decided to leverage the large global reach of Shopify to sell your products? No matter what you want to sell on your online store, be it handcrafted jewelry, clothes, or even your secret recipe apple pie, Shopify can literally let you sell anything. But before you get started with the platform, there’s something extremely important you should be familiar with – the Shopify Admin.
But what is Shopify admin, how does it work, where will you find it, and how will it help you? Worry not; we will answer all these questions. Shopify admin is an interface that lets you set up a new e-commerce store, customize the settings, and administer your business activities. The Shopify admin dashboard allows merchants to control every part of their store just by logging into their Shopify account.
That’s not all! There’s a lot more for merchants using the Shopify Admin panel. So, let’s discuss all the core sections of the Shopify admin page, along with their uses for merchants. This tutorial for using the Shopify admin dashboard will provide insightful information, along with screenshots of each section.
What is a Shopify Admin?
The Shopify Admin can be understood as a command center of your Shopify store. It’s a web-based interface that gives you the ability to manage every aspect of your online business. From this dashboard, you can add products, process orders, and interact with your customers.
The Shopify Admin is accessible from any computer with an internet connection, making it easy for you to manage your store from anywhere. It’s designed to be user-friendly, allowing you to easily navigate through different sections such as inventory, sales, and customer data.
After logging in, you can set up your store, configure your settings, and manage your business. It’s the tool that millions of merchants rely on to monitor, manage, and grow their businesses every day.
Shopify Admin Login Tutorial
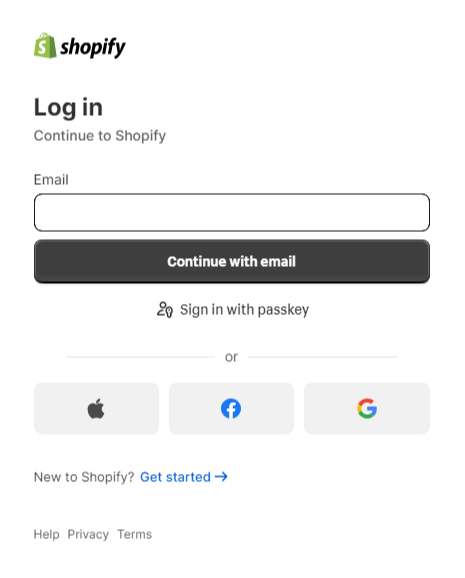
The first step in accessing your Shopify admin dashboard is to log in to your account. If you already have a Shopify admin account, you can log in to your existing account by following the three simple steps:
- Open a web browser and type your store name, followed by the (.myshopify.com/admin) URL.
- Now hit enter, and the admin panel will open up, asking you to provide your Shopify login credentials.
- Enter your email address and password, and then hit the ‘Login’ button.
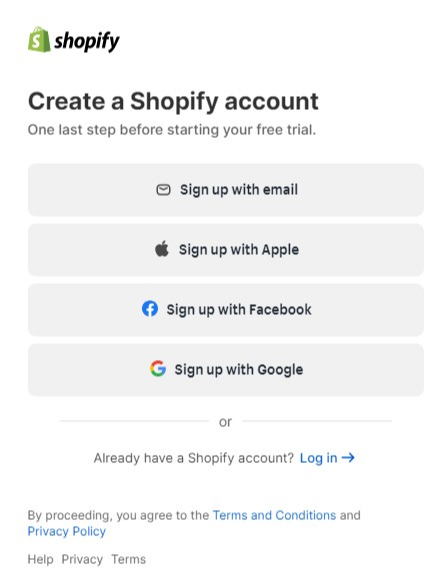
In case you don’t have a Shopify admin account, here’s how you can create in just a few minutes:
- Go to the Shopify website and click on the ‘Start Free Trial’ button.
- Now, answer a few questions asked by Shopify; you can even skip it to jump on the sign-up process directly.
- Sign up using your Facebook, Google, or Apple account. You can even sign up using your email address. After that, set a strong password, and you’re good to go.
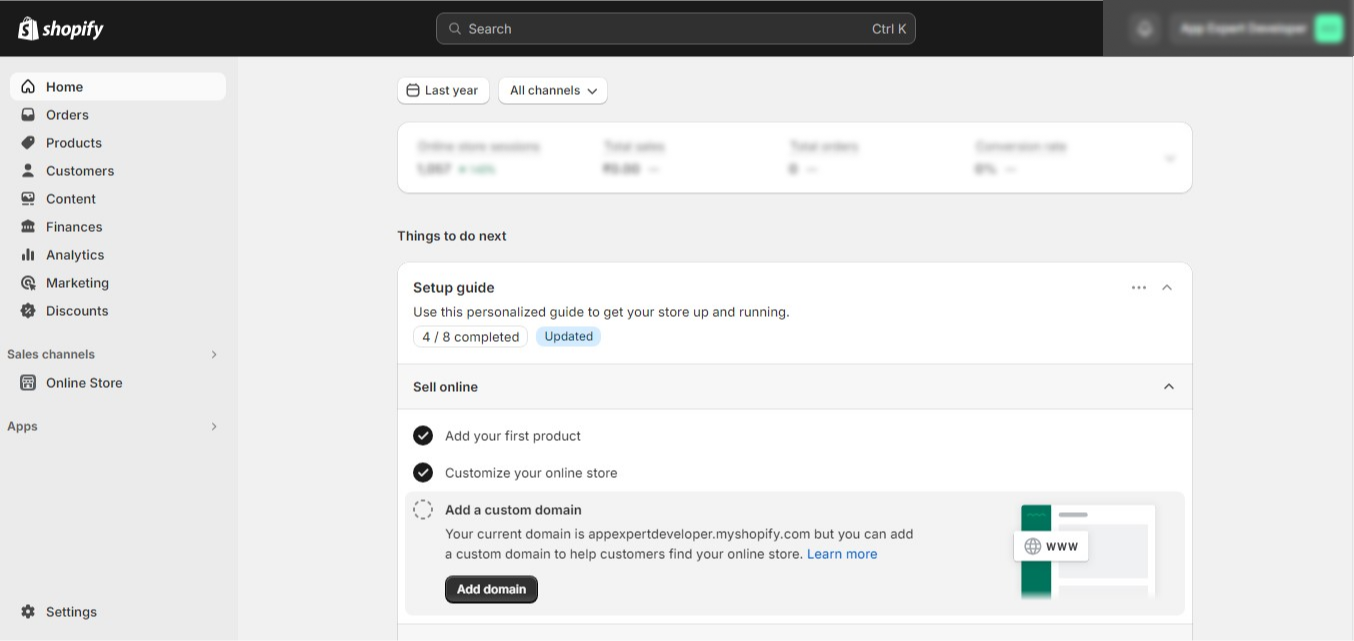
After logging into your Shopify admin account, you will be redirected to your dashboard. To understand the Shopify admin dashboard more comprehensively, here’s a detailed overview of each section that is available.
10 Shopify Admin Sections Available on Dashboard
While Shopify is known for offering convenience to merchants, navigating the Shopify admin dashboard can be quite tedious. But if you possess a good knowledge of each section, you can easily manage your online store.
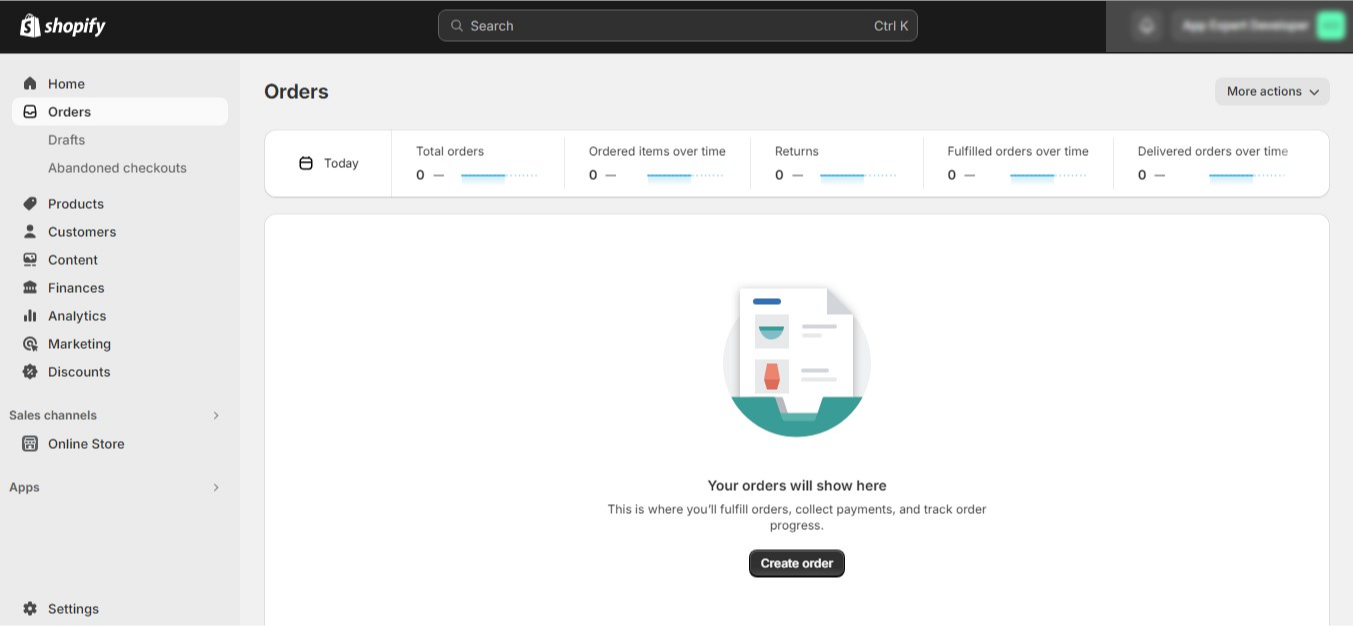
1. Orders
This section of Shopify admin will feature the details of all orders received on your e-commerce store. Each entry in the list has an order number, customer name, payment details, and shipping status. Clicking on an individual will let you perform the following actions –
- View the order status
- Refunding & Returning options
- View tracking information
- Printing packing slips
- Adding comments
The ‘Orders’ section further has three sub-categories, which includes
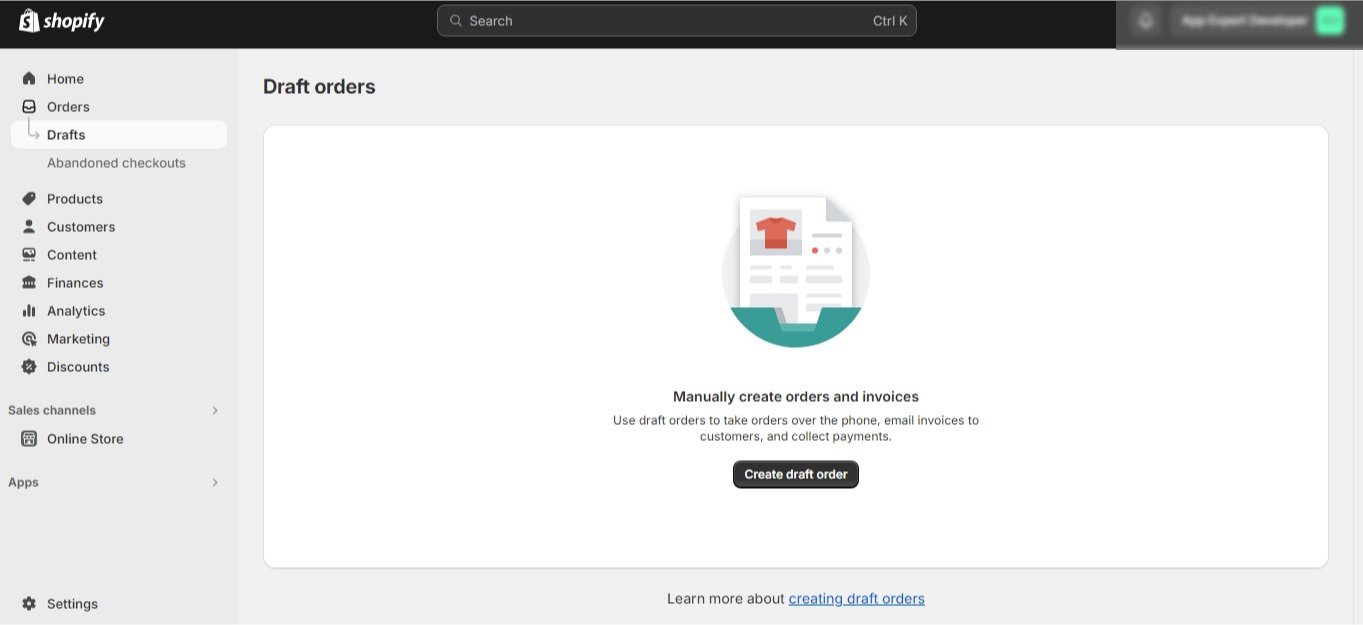
Drafts
The Drafts section of your Shopify admin panel allow you to create orders manually that are made outside the Shopify. You can create manual orders and send your customers invoices.
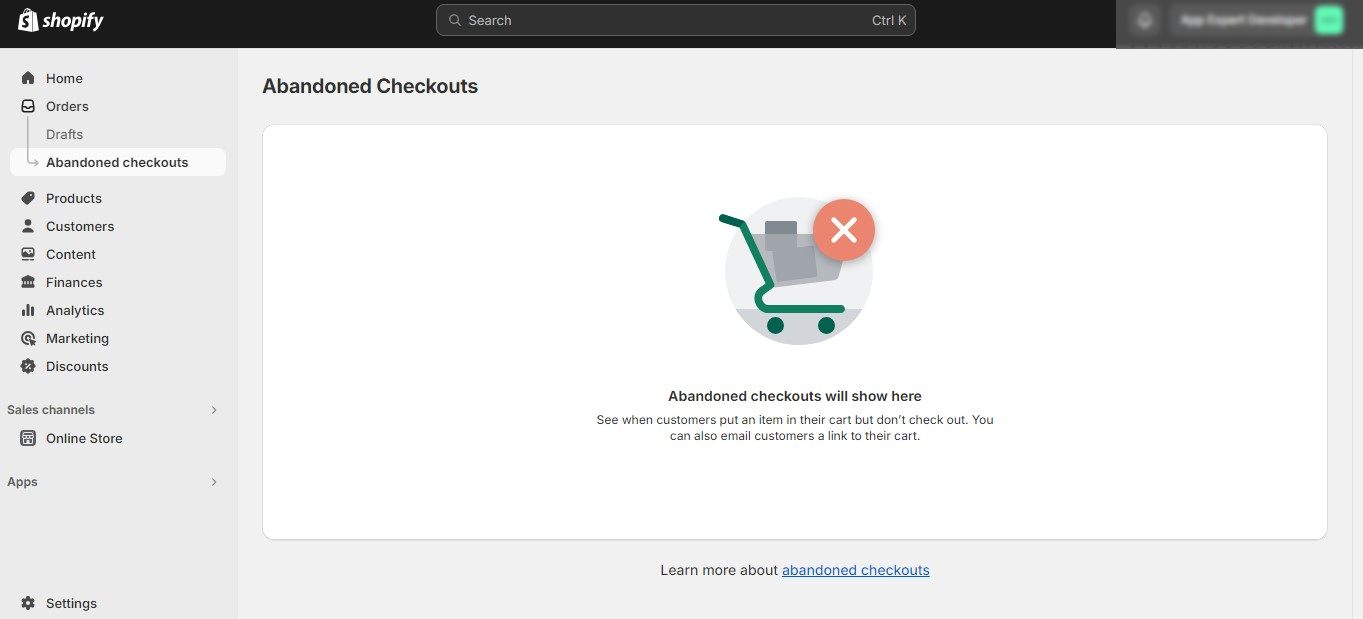
Abandoned Checkouts
The Abonded Checkouts section will show the orders that were abandoned in the cart or during the checkouts. If any customer has entered their information but couldn’t complete their order, you can see their information. Use this information to manually send emails to your customers. You will be surprised to know that average cart abandonment rates are usually around 65% to 75%.
2. Products
The Next section in the Shopify Admin dashboard is the “Products” section, where you can find details about the orders you have been selling.
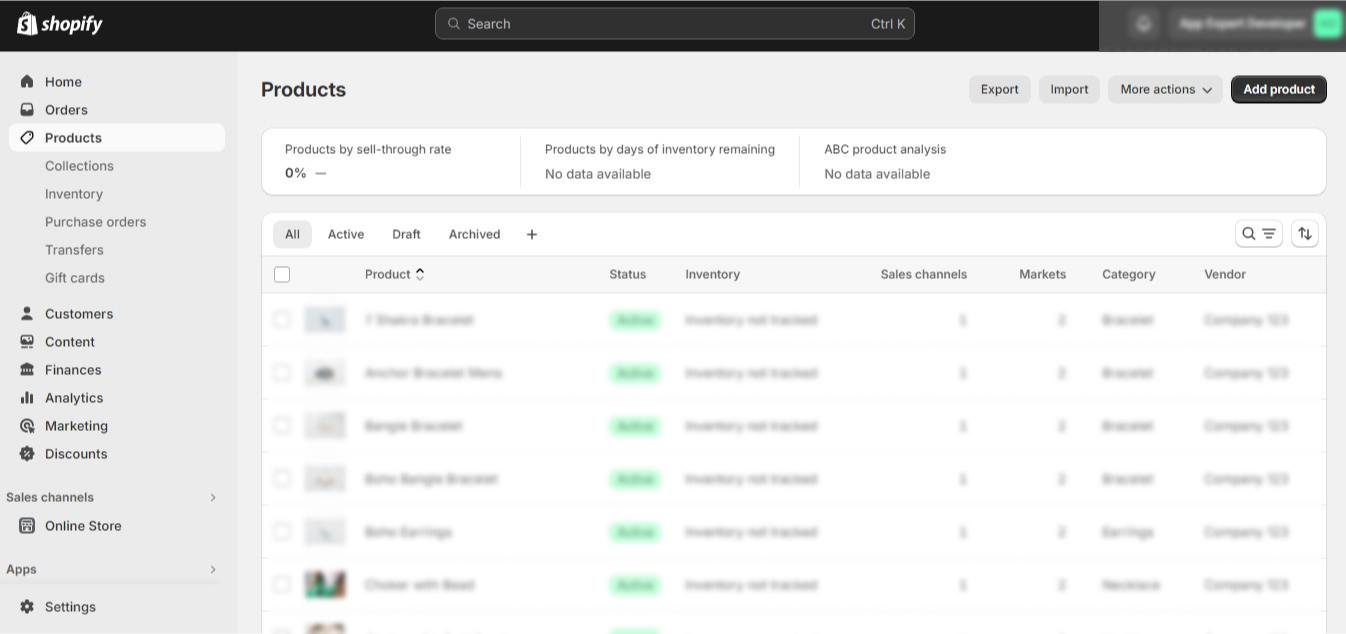
The sub-sections in the Products section include the following –
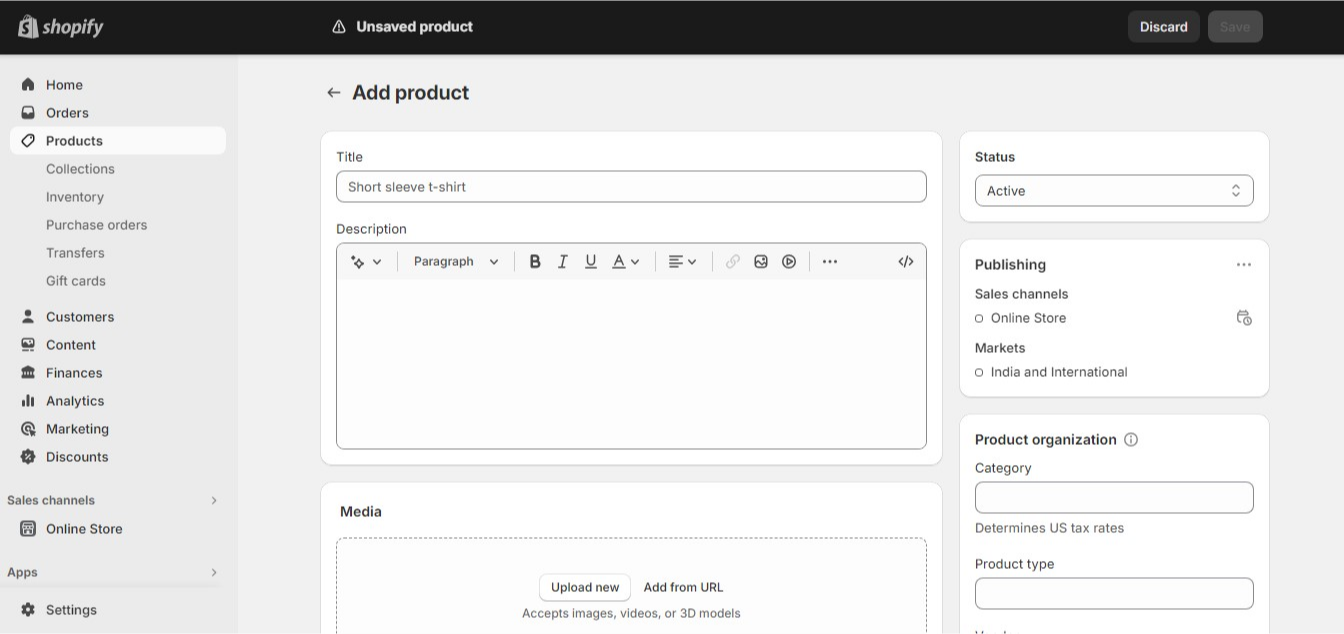
Adding products
Before you start to sell, you need your product to be listed on the platform. For that, click on the “Add Product’ icon available on the right side. Now, create a listing, add photos, set prices, and write descriptions.
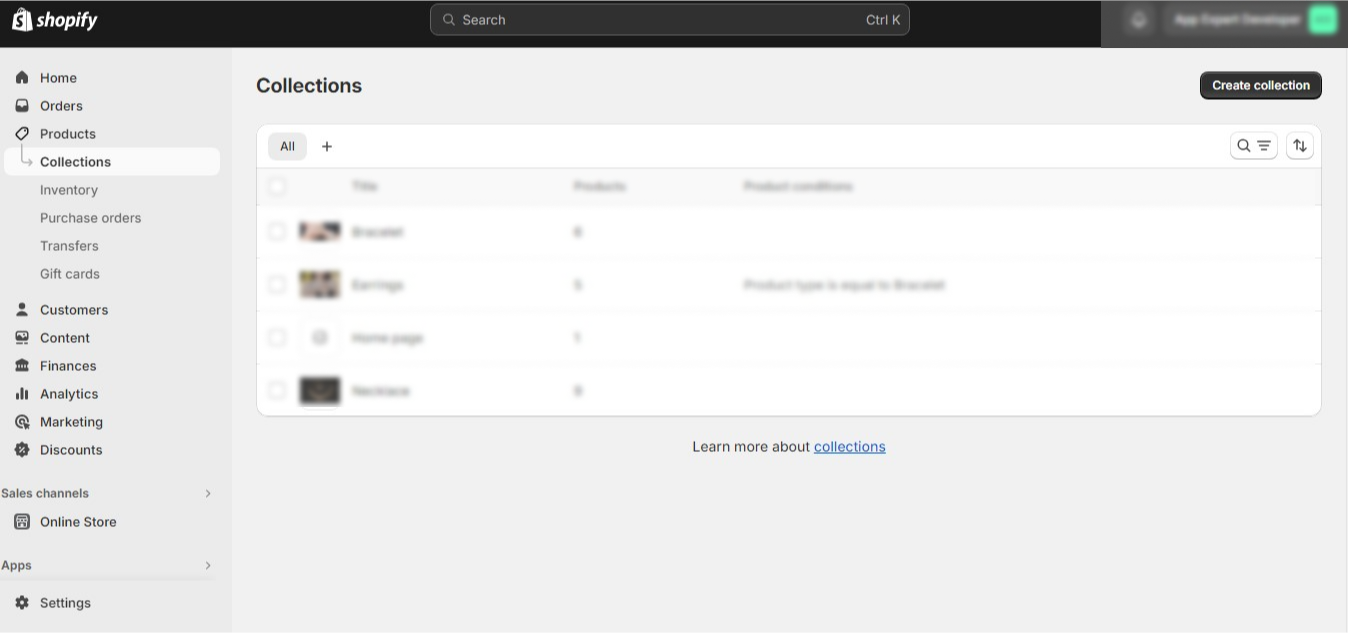
Collections
In this section, you can organize your product into collections. For instance, if you’re selling jewelry, you can create collections for ‘Ear Jewelry,’ ‘Neck Jewelry,’ and so on.
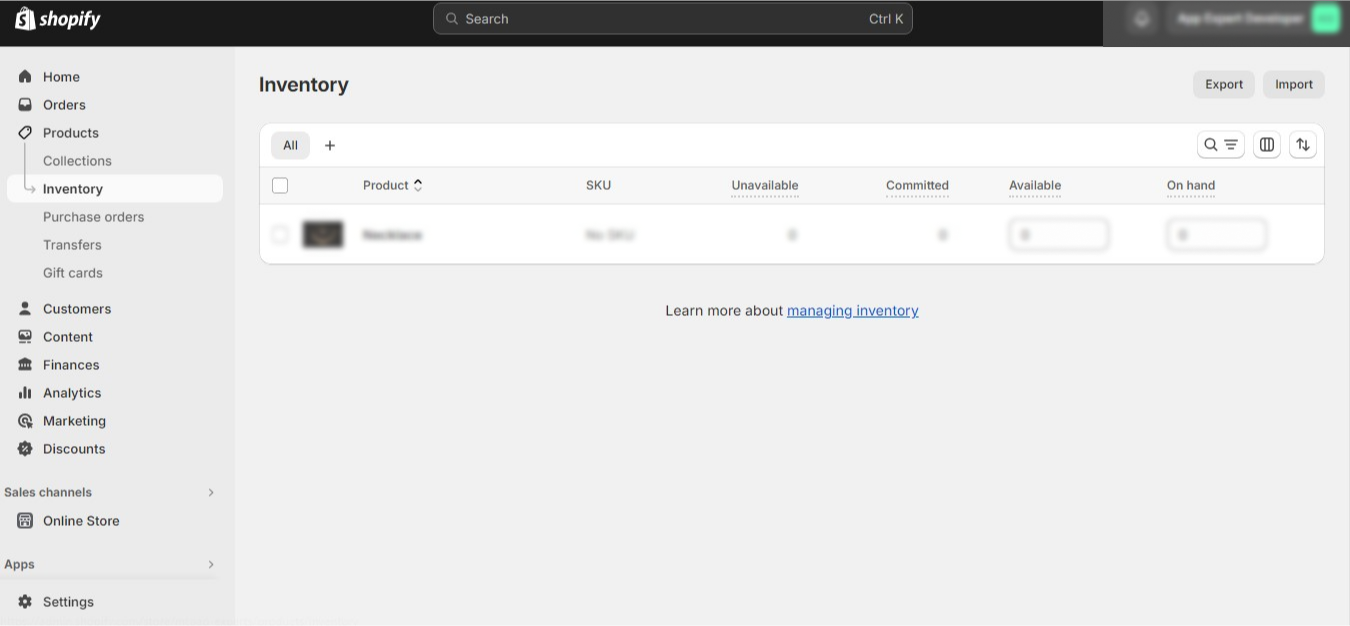
Inventory
The inventory section of your Shopify admin dashboard allows you to keep track of your stock. You can see how many units have been exhausted and how many are left so you can stock up immediately.
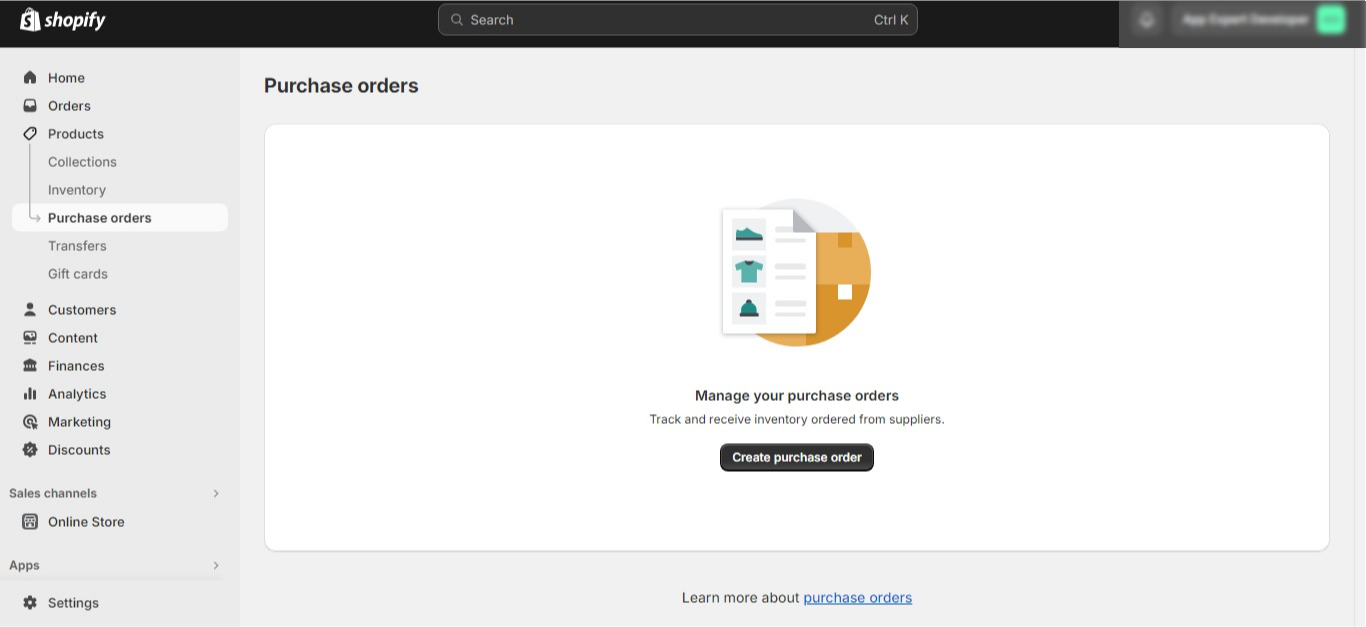
Purchase Orders
In this sub-section, you can track and receive the inventory ordered directly from the supplier. You can click on the order to find further details of your purchase order.
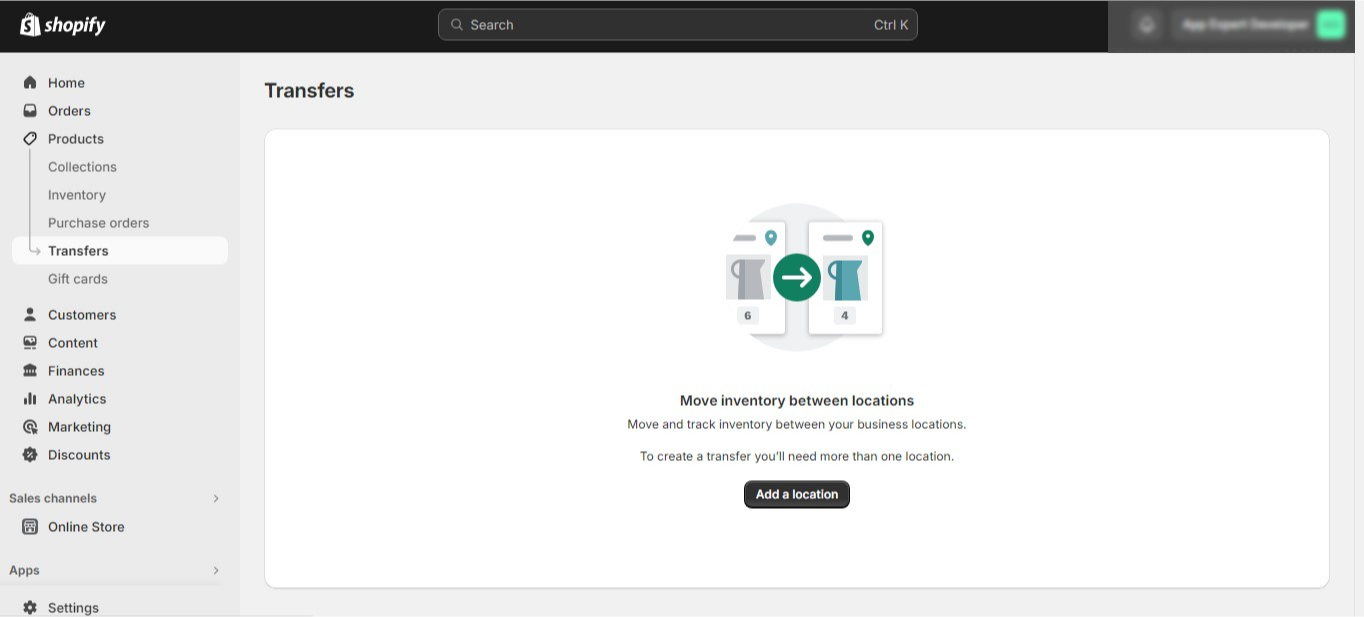
Transfers
This section allows you to add details of forthcoming stock so your customers will know when the product will be in stock again.
Gift Cards
Here, you can create gift cards for your customers. They can make payments through these gift cards in the future. It increases the user’s loyalty towards your store.

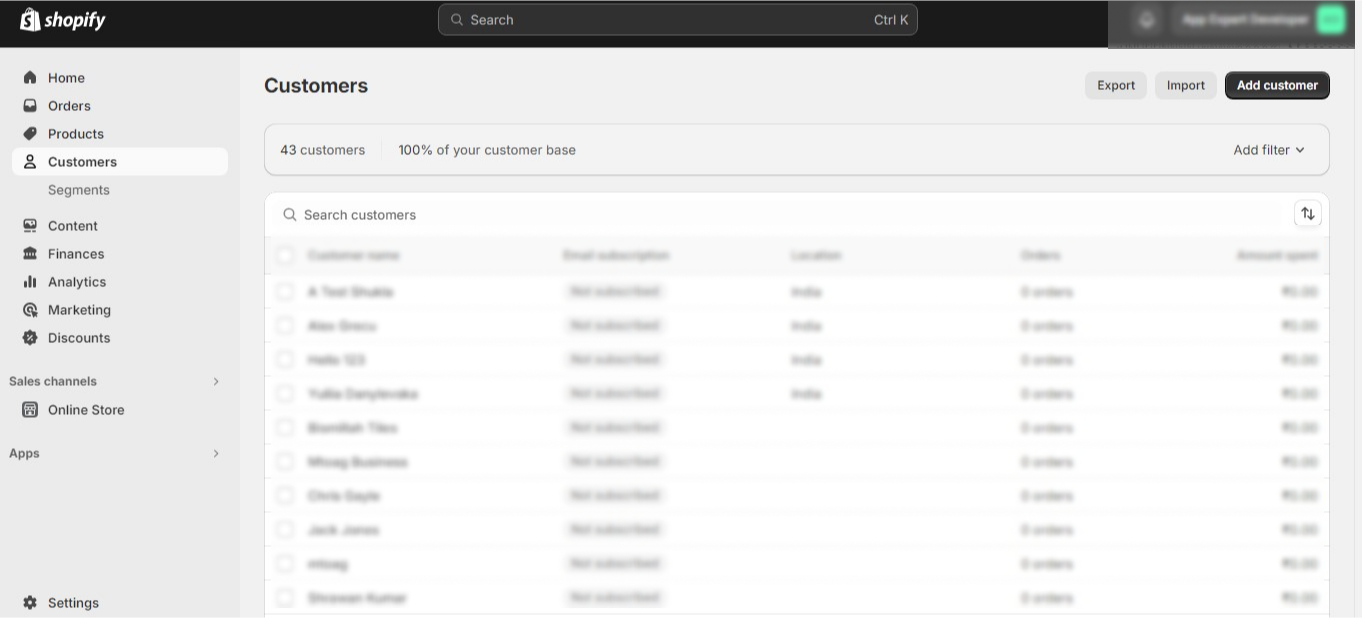
3. Customers
The Customer section of your Shopify Admin panel will provide insightful information about your customers, including their names, email addresses, order histories, and even locations. You can also see if they have your email subscription.
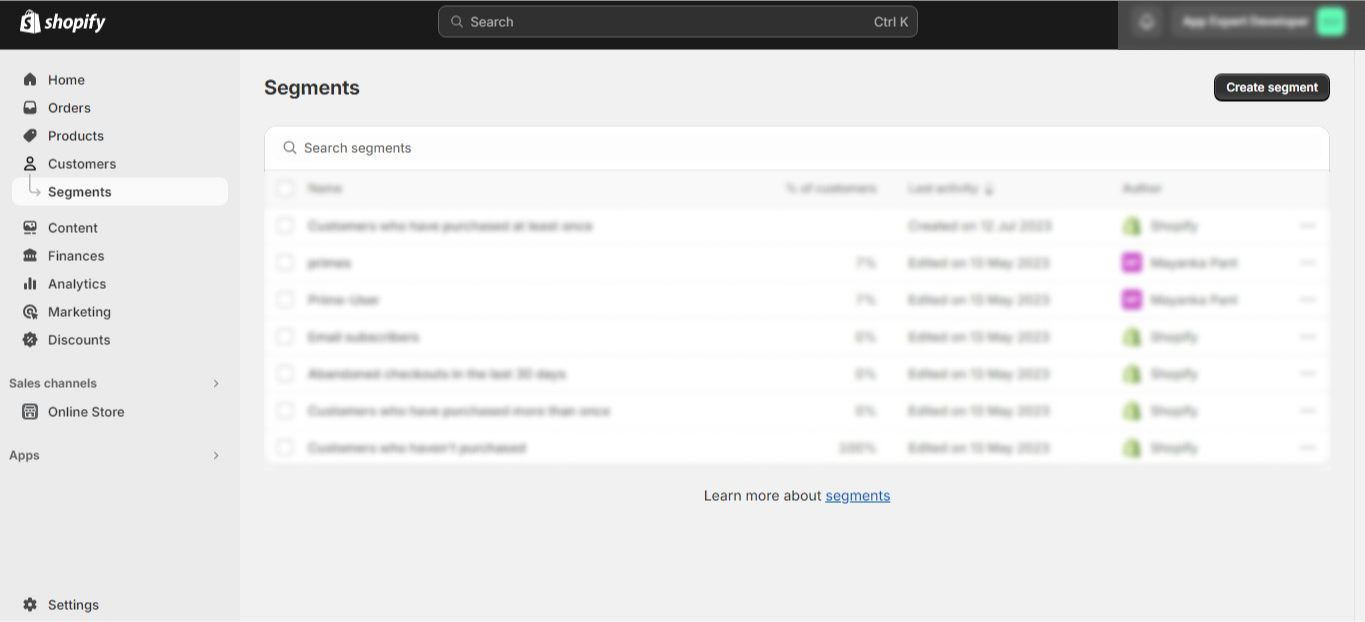
Segments
This is the most crucial section of the entire Shopify admin area, as it allows you to segment your customers based on product types, order frequency, location, and abandoned checkouts.
4. Content
In this section of the Shopify Admin dashboard, you can upload a new file and manage the existing ones, along with configuring them with additional metaobjects. The connected section has two sub-sections, which are
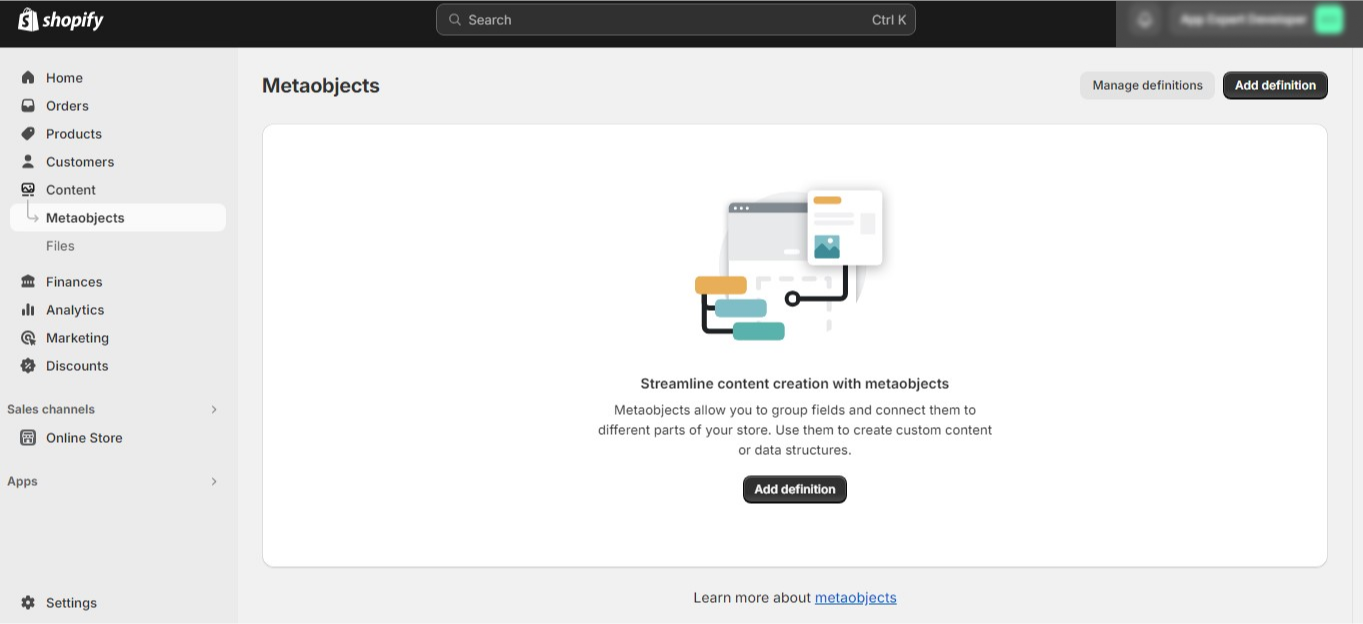
Metaobjects
This section allows you to add multi-field, customized objects to your store. You can use them to show information, such as cart upselling, size guides, etc.
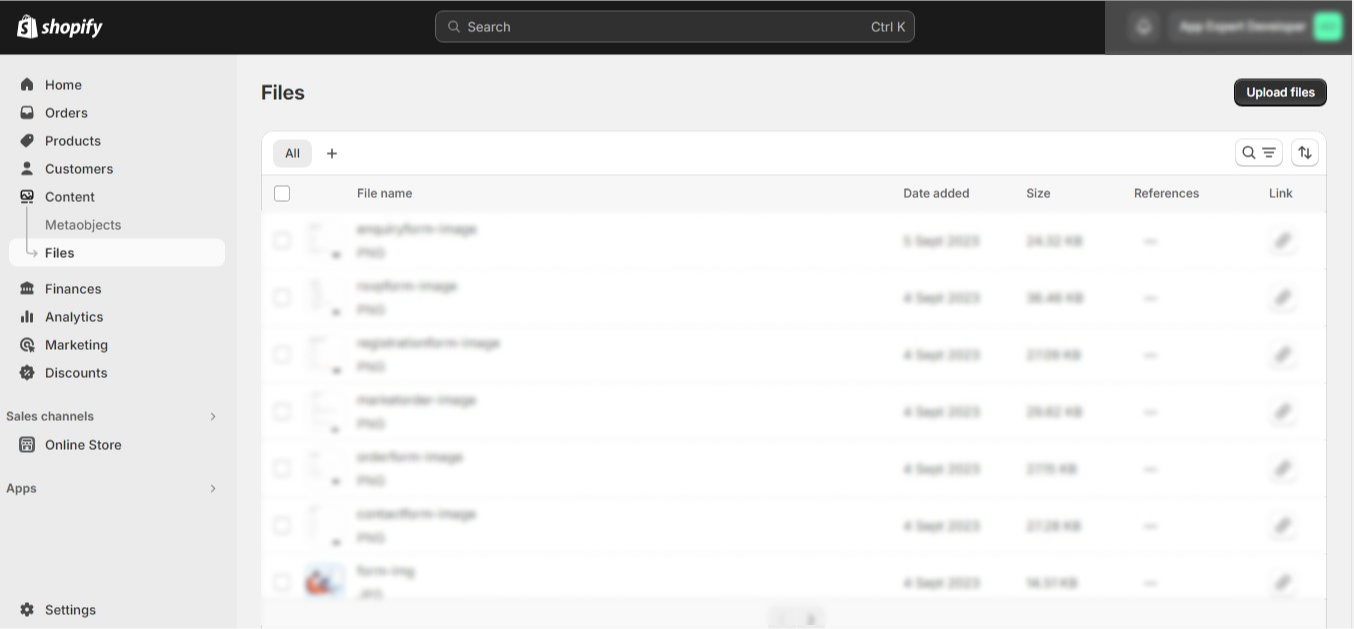
Files
This section allows you to manage the uploading of files, including product images, videos, and photos you want to make available for your customers.
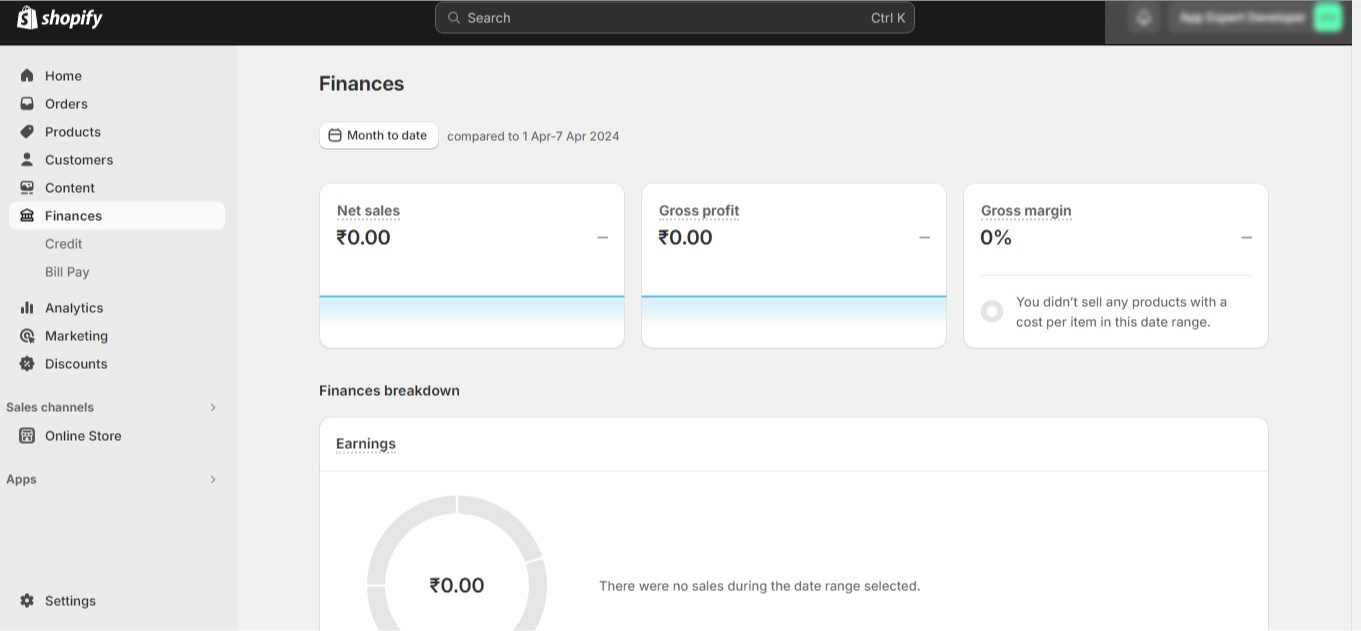
5. Finances
The Finances section available in your Shopify dashboard offers a breakdown of your online store’s financial performance. You can sort the information based on a selected date range.
Credit
Shopify Credit is a business card offered to selected merchants, specifically in the United States. You can track the usage of Shopify credit in this section.
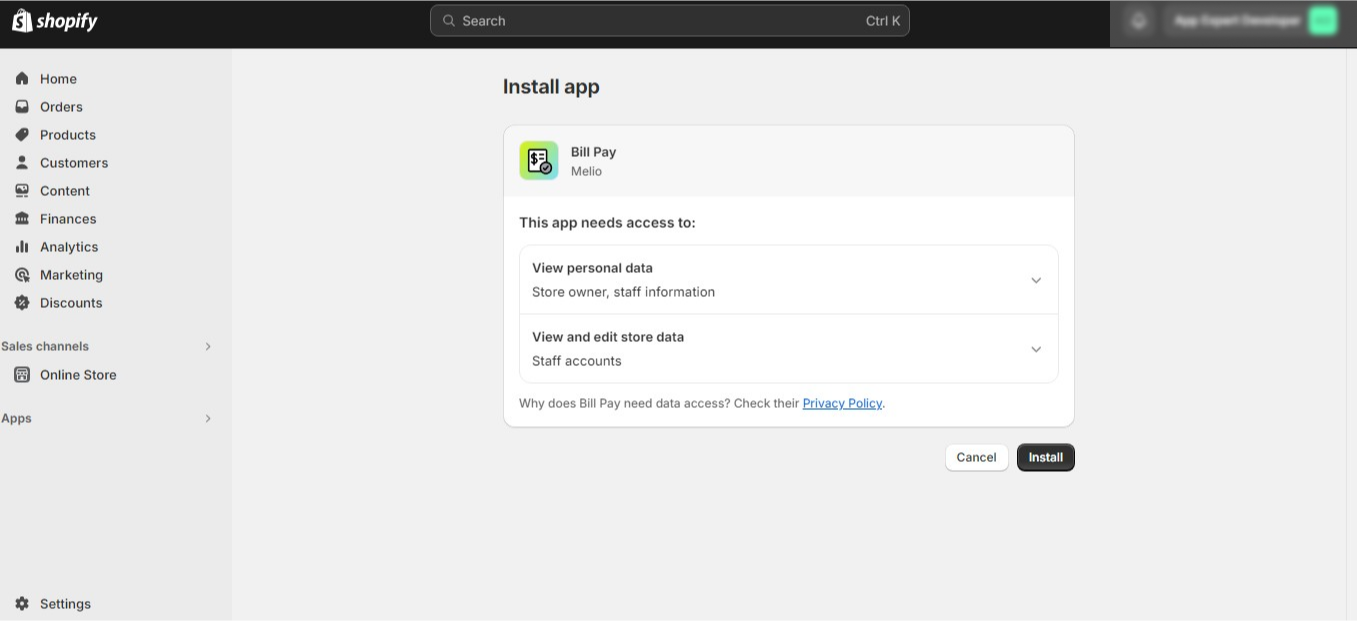
Bill Pay
The bill pay section allows you to track the external business bills that are directly paid through Shopify admin. It shows all finances in one place.
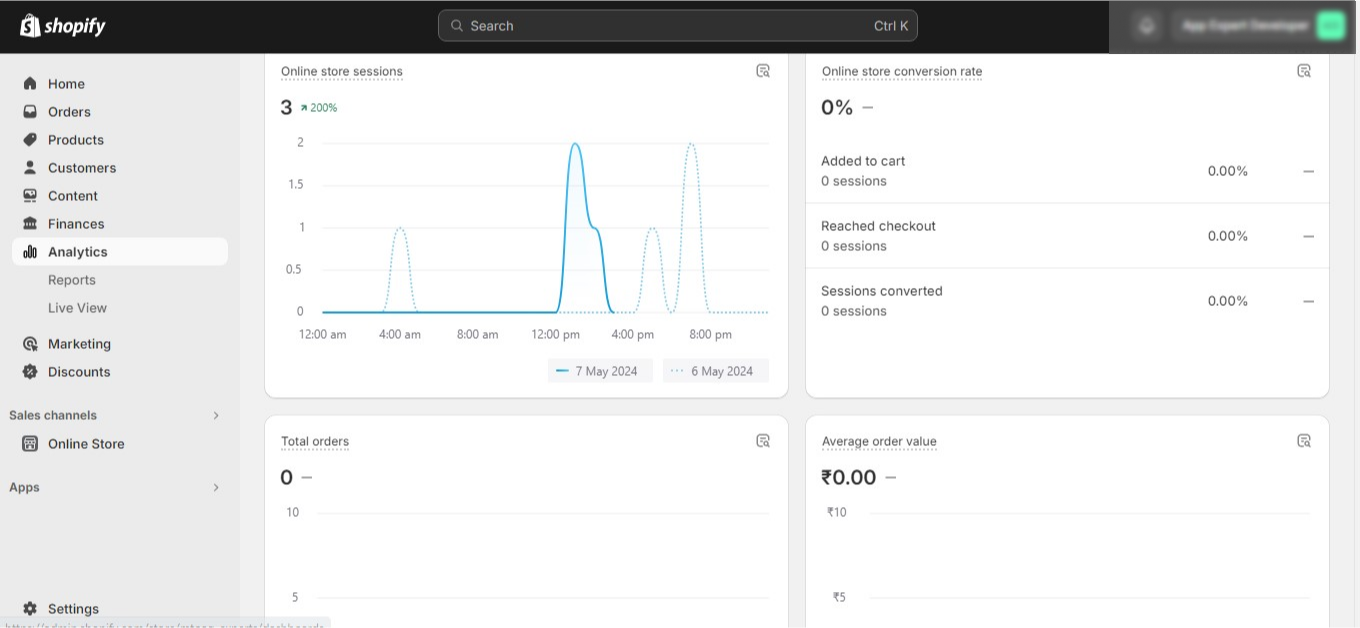
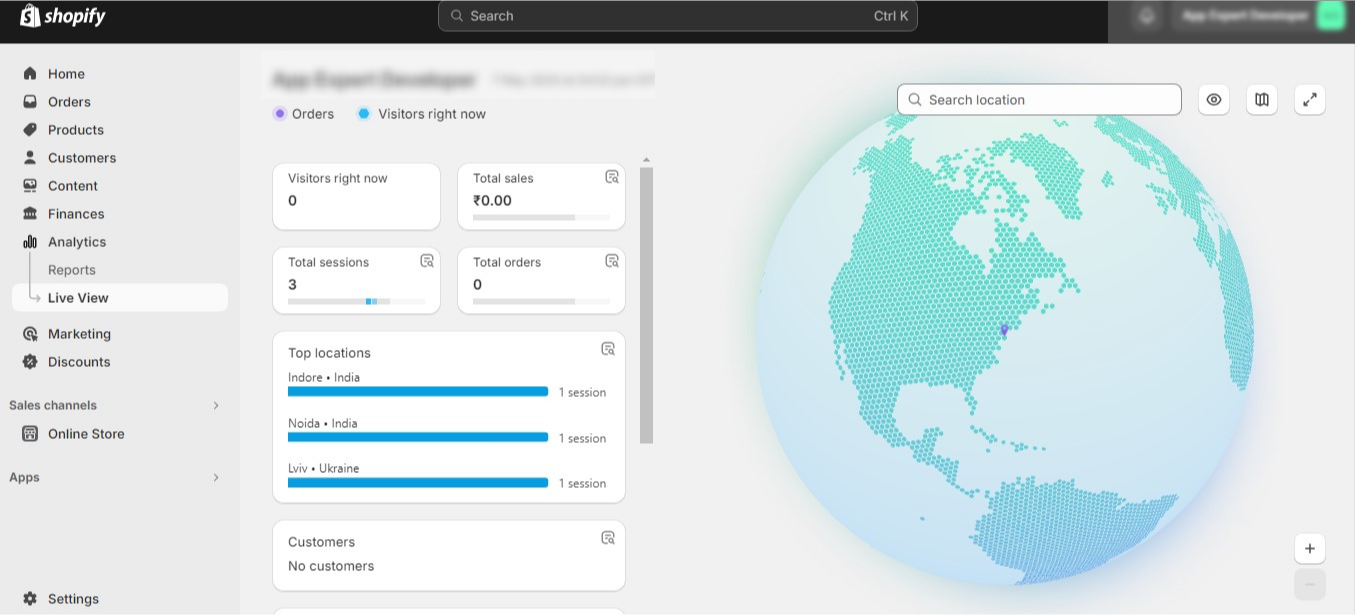
6. Analytics
The Analytics section of your Shopify admin dashboard showcases the performance of your online store through charts, graphs, and figures.
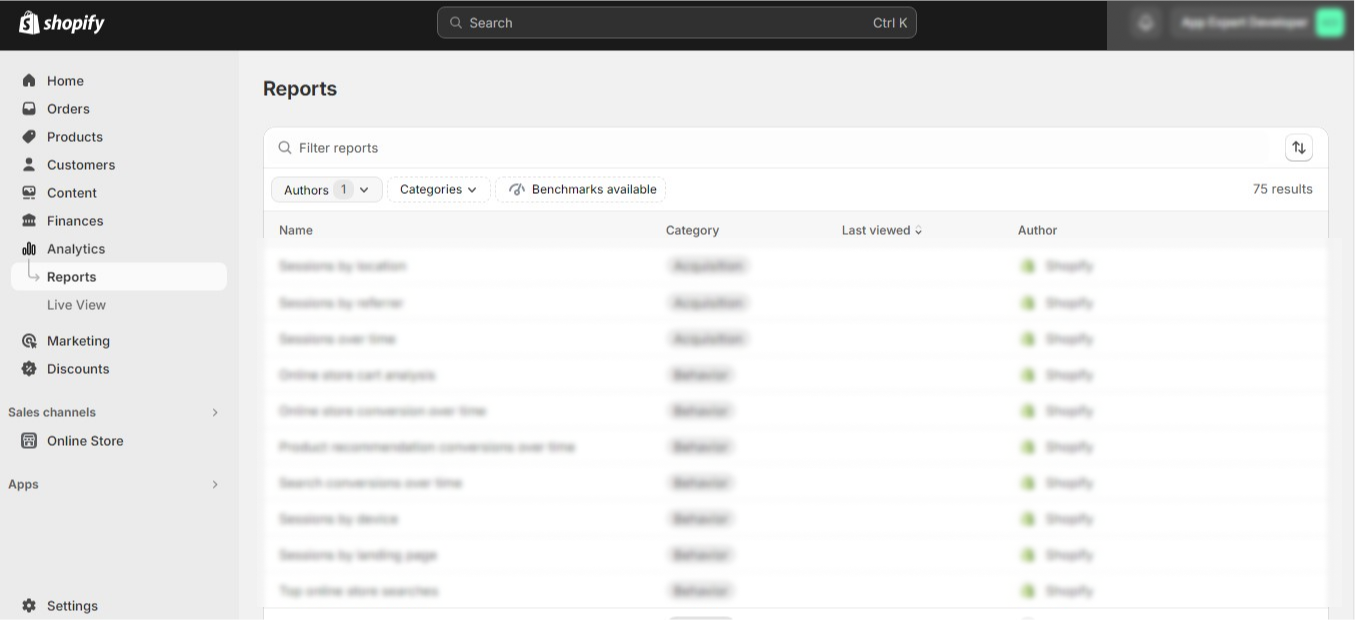
Reports
This section will provide insightful information on various aspects, including the actual visitors of your stores, what they are buying and where they come from.
Live View
With LiveView Section, you can see all these reports in real-time. You can even see how many users are currently active on your store and what they have in their carts.
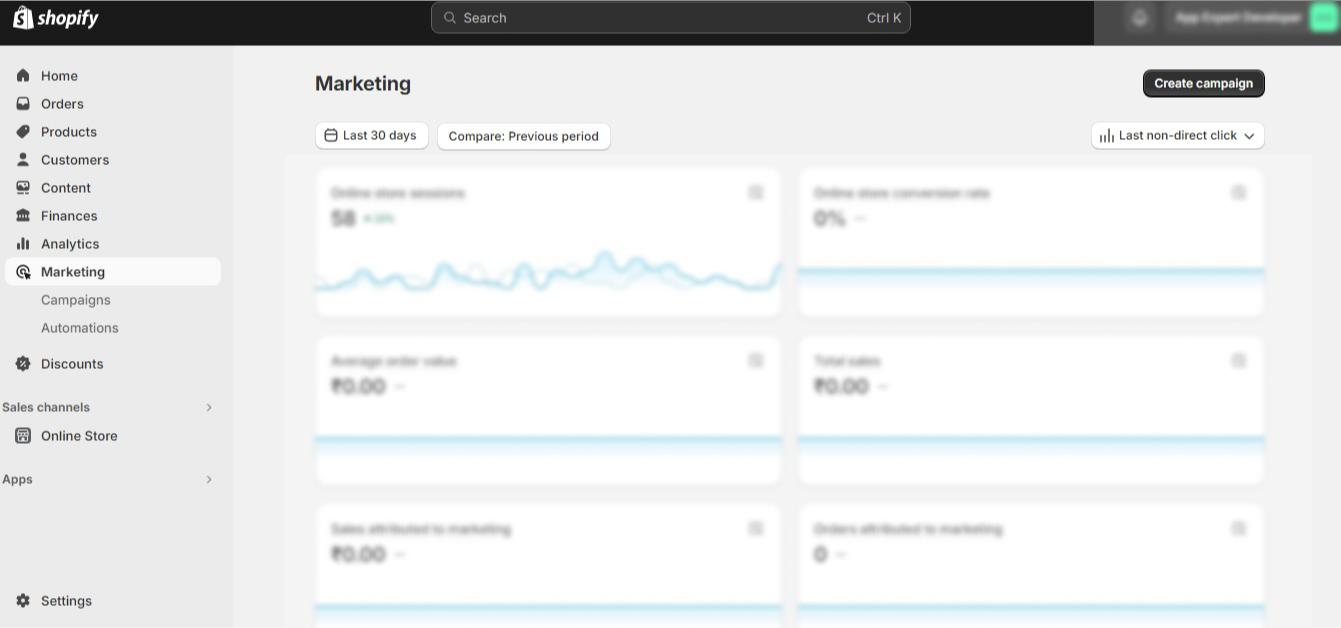
7. Marketing
This section allows you to create and oversee marketing campaigns that are executed on platforms like Facebook, Google Shopping, and through emails. You can also monitor the success of these campaigns and identify your top-performing channels.
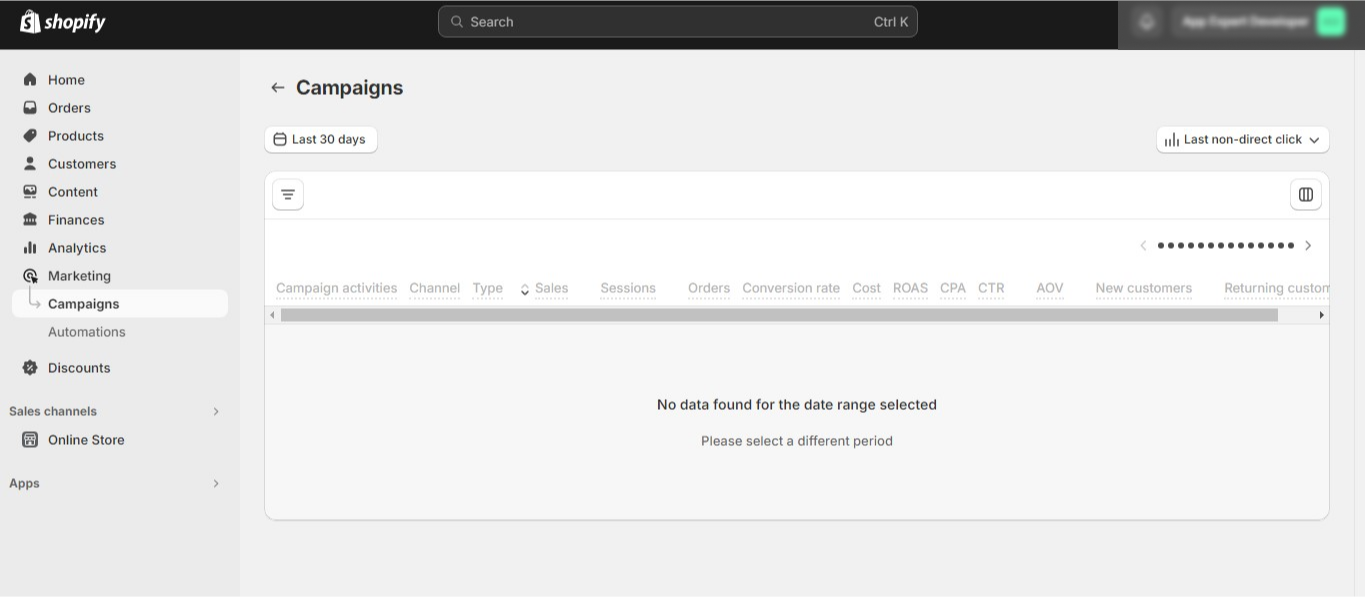
Campaigns
Here, you can observe the performance of existing campaigns, which includes metrics like sales, sessions, orders, conversion rates, and more.
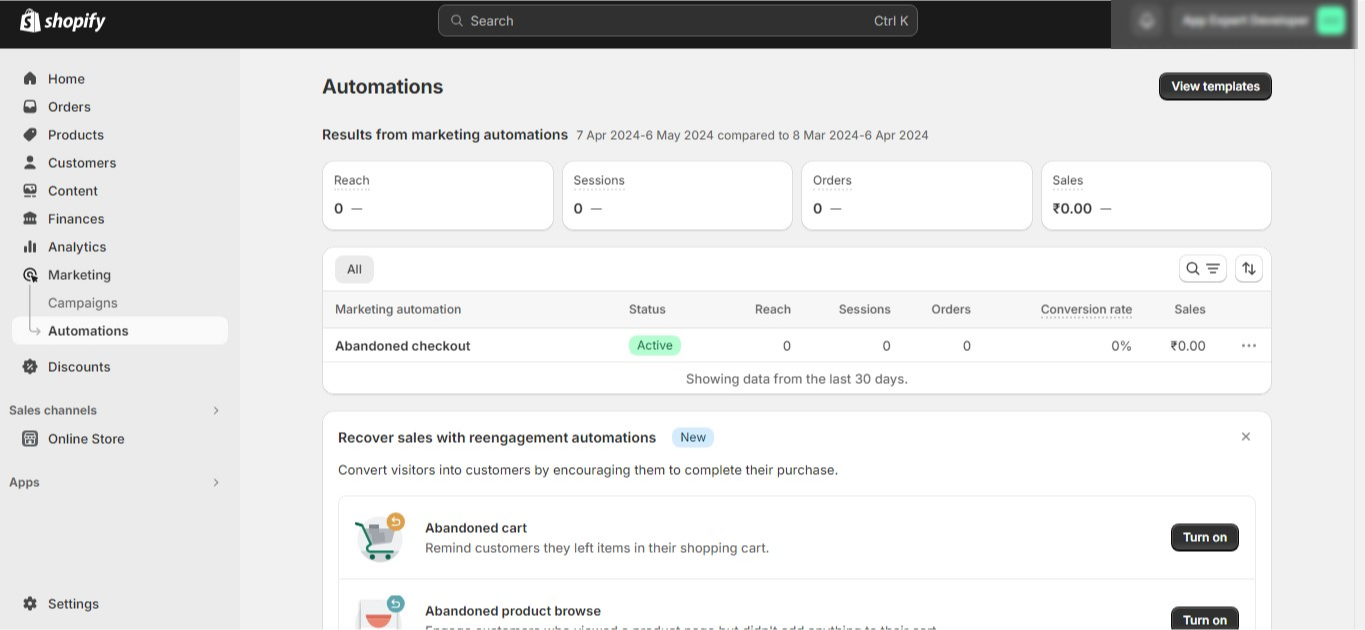
Automation
Marketing automation is a feature that lets you send automated emails to customers based on specific triggers. Some examples of this automation are:
- Welcoming a new customer
- Upselling on the first purchase
- Winning back a customer
- Following up on a product that was browsed but not purchased
- Reminding of an abandoned cart
- Addressing an abandoned checkout
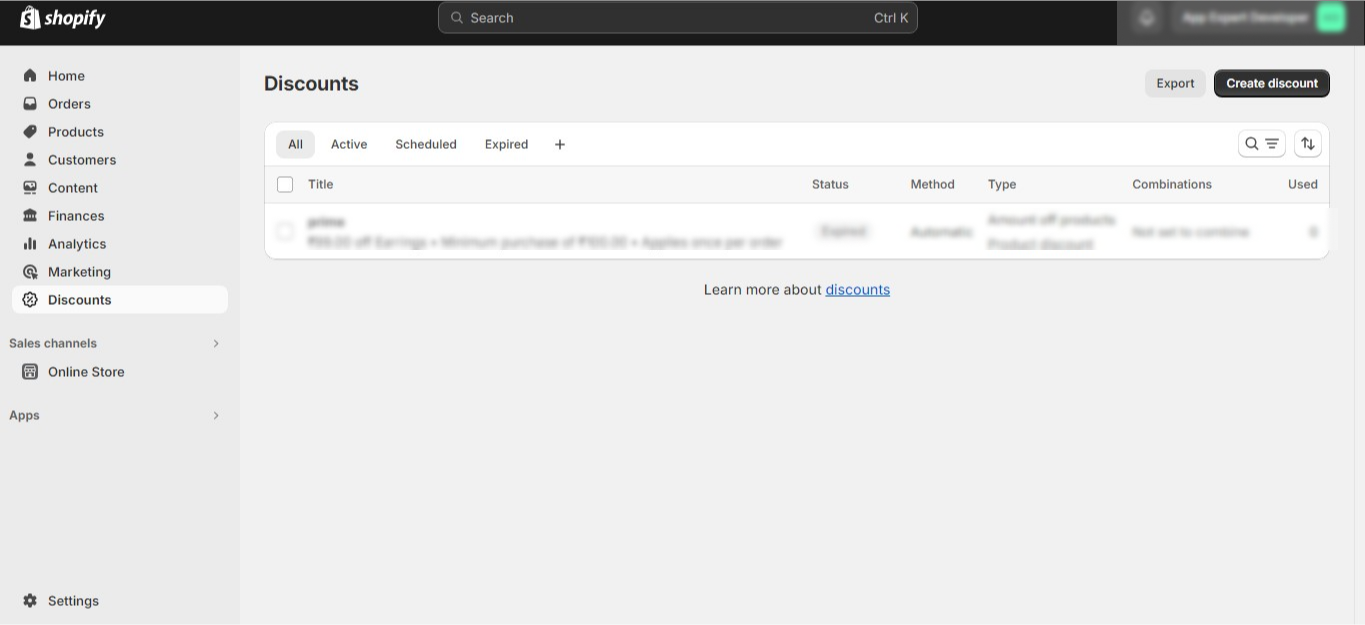
8. Discounts
As the name suggests, the ‘Discounts’ section is where you can generate various types of discounts for your customers. You can create discount codes, set up automatic discounts, or establish sale prices for individual products. The types of discounts you can use include:
- Discount on product price (Product discount)
- Discount on total order value (Order discount)
- Buy one get one offer (Product discount)
- Free shipping (Shipping discount)
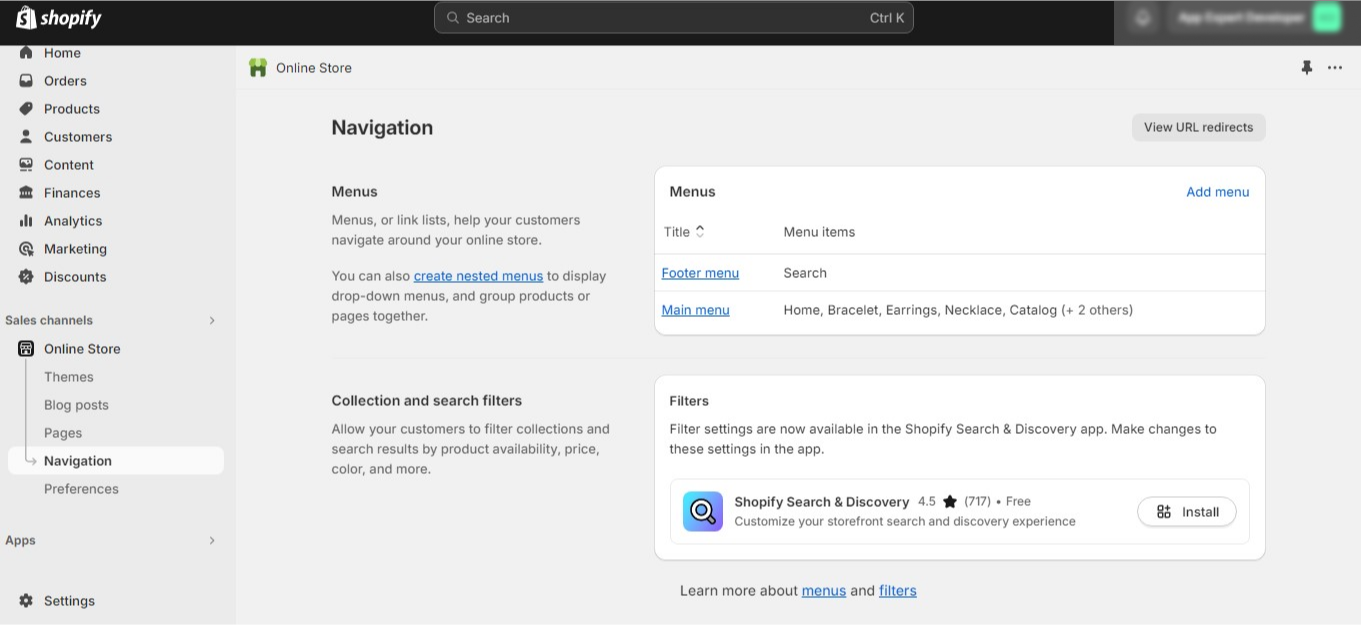
9. Sales Channels – Online Store
Next section in the Shopify admin panel is dedicated to the sales channels. It is one of the most crucial ones to understand, as your ultimate goal of using the platform is to have higher sales. The section is further divided into four sections, which are as follows:
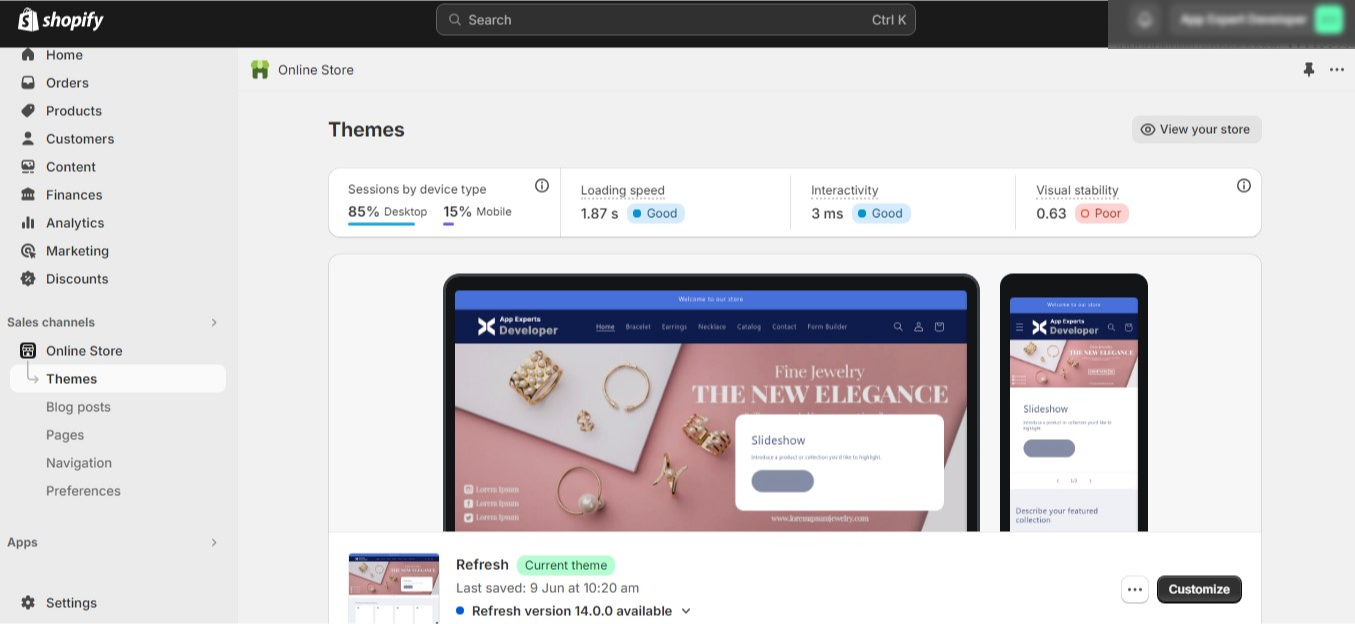
Themes
Here, you can use pre-built themes and customize your online store with an abundance of color schemes, banners, layouts, and much more.
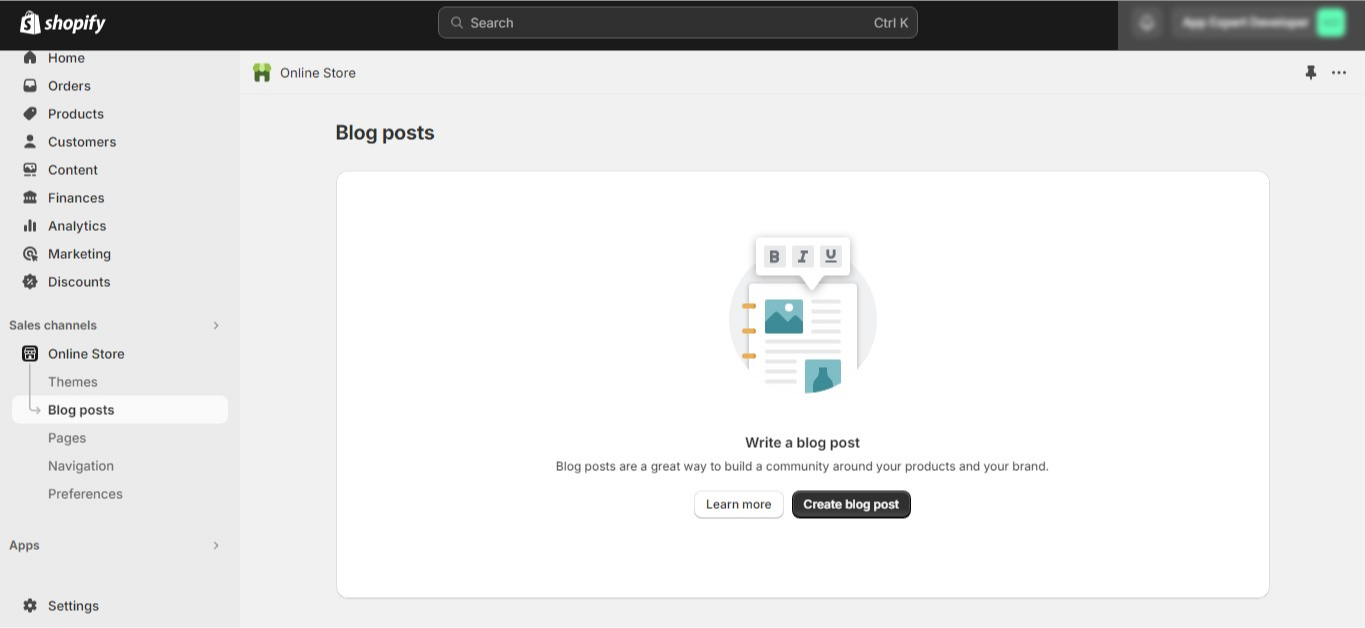
Blog posts
In this section, you can find blogs about your product and reviews of other products that can potentially increase your sales.
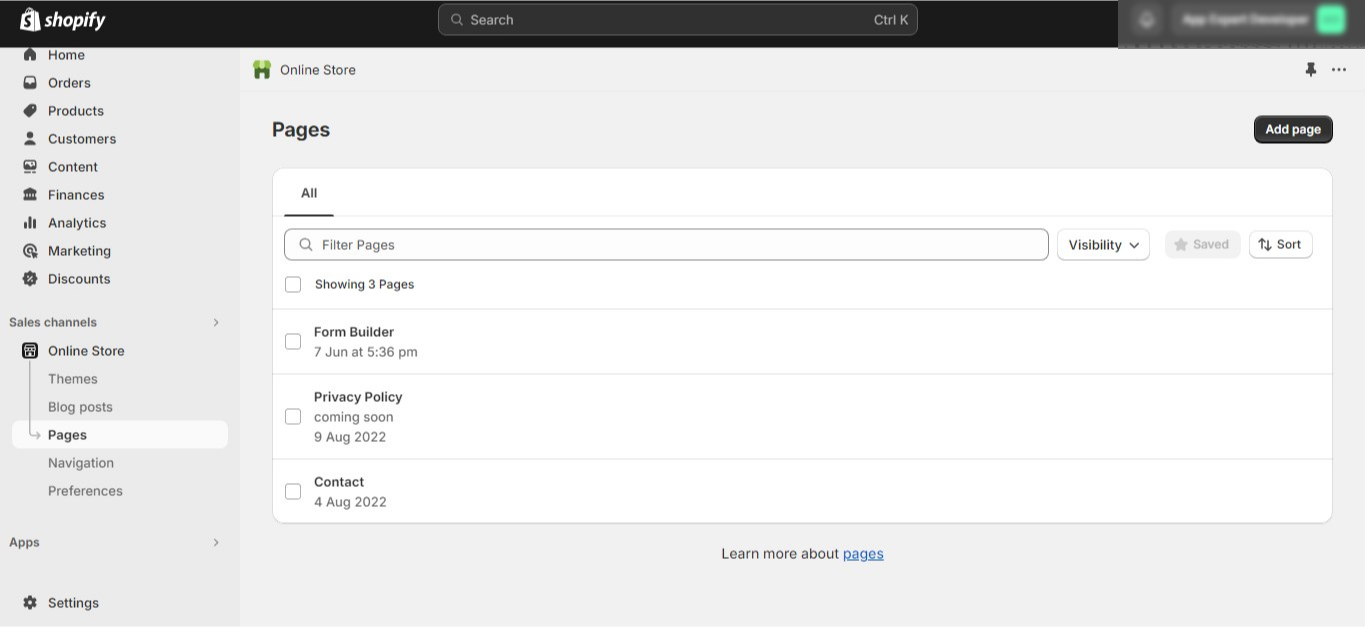
Pages
This section allows you to create new pages for your online store. You can even edit the existing ones according to your preference.
Navigation
This section will help you decide how to navigate your store, like how they will navigate your store and how menus and links will lead them to your products.
10. Apps
The Shopify App Store is a treasure trove of apps. Whether you need to chat with customers or need help with shipping, there’s an app for that.
App Stores
If you go through an app that interests you, simply click ‘Add app’ to install it in your store.
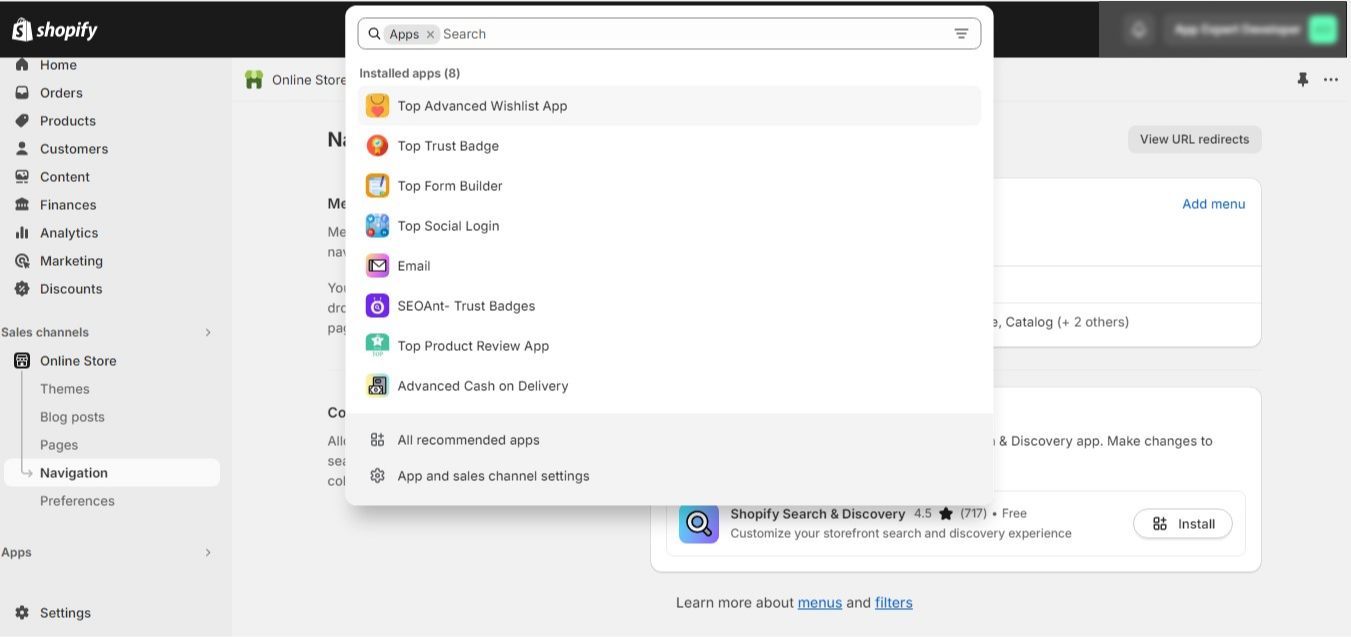
Managing Apps
This area allows you to oversee all the apps you’ve incorporated into your store.
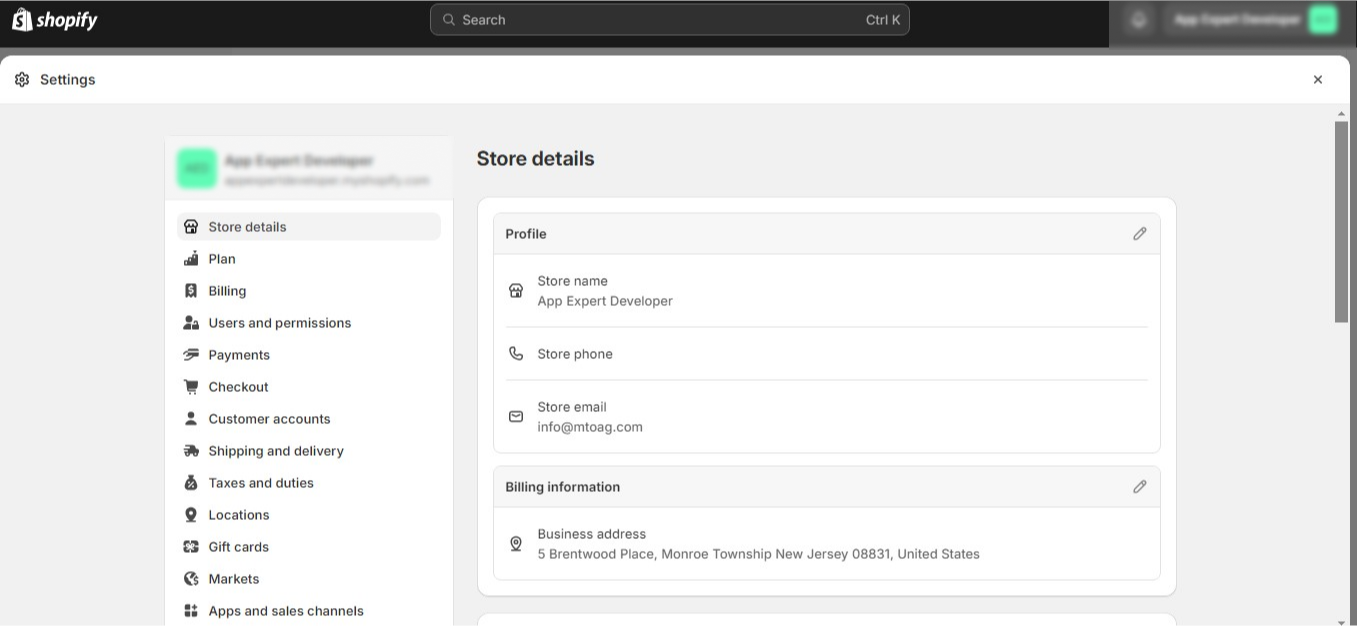
11. Settings
Finally, we reach the ‘Settings.’ This section has some crucial elements:
Store Details
This is where you can customize your store’s identity, including its name, currency, and language.
Payments
This section allows you to configure your payment collection methods. You have the flexibility to choose from various payment gateways.
Shipping and Delivery
Here, you can establish your shipping rates and methods and manage your product delivery process.
6 Expert Tips for Managing Shopify Admin Account
If you’re just starting out with a Shopify admin account, the below-mentioned best practices will help you get the most out of your dashboard.
- Make use of the search bar for a hassle-free way to find features and settings. If there’s something specific you need, just type it in, and Shopify will provide the results.
- Before the day ends, ensure your product is available. If it’s out of stock, think about re-stocking it.
- Take time to calculate the appropriate shipping charges and confirm that they’re set up correctly in the Shopify admin.
- Keep your Shopify admin account safe by choosing a robust password that includes a combination of letters, numbers, and symbols. Also, turn on two-factor authentication. This means you’ll need an additional device (like your phone) to log in, making it more difficult for others to access.
- For easy access, add the Shopify admin to your browser’s bookmarks.
- Make it a habit to backup your store data through the Shopify admin regularly.
Conclusion
So, that’s what the Shopify Admin dashboard looks like. We have described the functioning and features of each section and sub-section available on the Admin panel, with screenshots. At the same time, we have also included the Shopify login tutorials, along with steps for registering as a new merchant.
Each section of the Shopify Admin dashboard offers a different insight into various aspects of your online store. If you want to be successful as a Shopify merchant, understanding the nitty-gritty of Shopify admin panel is more than crucial. Hope, with this comprehensive guide, you have understood everything and now can easily navigate the dashboard.
FAQs
How Do I Get Into My Shopify Admin?
Here’s how you can log in to your Shopify Admin account:
- Open a web browser and type your store name, followed by the (.myshopify.com/admin) URL.
- Now hit enter, and the admin panel will open up, asking you to provide your Shopify login credentials.
- Enter your email address and password, and then hit the ‘Login’ button.
How Do I Set Up Admin On Shopify?
- Login to your admin panel, go to settings, and then Plan & Permissions.
- Now, click on the “Add a staff account.”
- Enter the first name, last name, and email address of the new staff member.
- Tick the email field for ‘Full Permissions.”
- Enter the details and click “Send Invite.”
- The member will get an email invite. From here, they can set up a new account.
- Additionally, you can control user permissions by clicking “Limit Admin Access.”
Is There A Shopify Admin App?
The Shopify app allows merchants to login to their Admin account easily just by entering the Shopify login credentials.
Categories
Top Posts
- 110 Best Shopify Review Apps to Increase User’s Trust
Shopify.July 24, 2024
- 2Top 10 Shopify Competitors That Are Outperforming This E-commerce Giant in 2024
Shopify.July 22, 2024
- 3Is Shopify Good for SEO? (Detailed Pros and Cons)
Shopify.July 18, 2024
- 4What is Shopify? All You Need to Know About This E-commerce Platform
Shopify.July 15, 2024
- 5The Complete Shopify SEO Checklist to Boost Your Store Rankings (Guide for 2024)
Shopify.July 3, 2024